Custom boot making is a very lengthy and involved process that takes extreme focus and attention to detail. One slip of the hand and you may be starting over again. Depending on what boot maker you talk to, there are around 40 to 60 individual steps in the boot making process. Here is a very abbreviated description of what goes into making a pair of custom boots.

Process


“But the thing was that good boots lasted for years and years. A man who could afford fifty dollars had a pair of boots that’d still be keeping his feet dry in ten years’ time, while the poor man who could only afford cheap boots would have spent a hundred dollars on boots in the same time and would still have wet feet.”
– Terry Pratchett, Men at Arms: The Play
Fitting the customer…
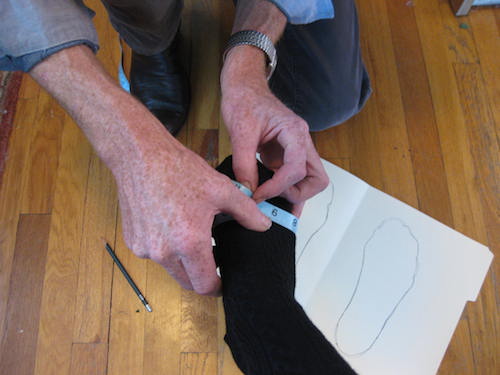
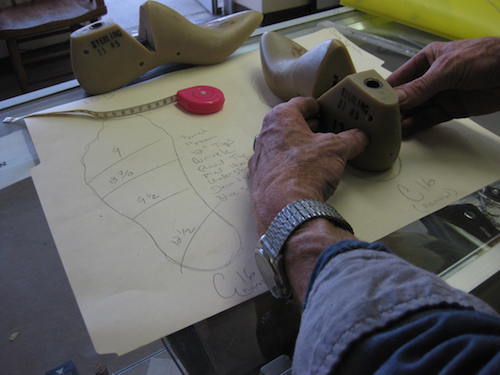
Step 1
Both of your feet are carefully traced and measured in multiple areas to ensure a proper custom fit. We then take those numbers and the tracing and closely match a last to your feet. That last is then built out and modified and shaped to closely resemble your feet.
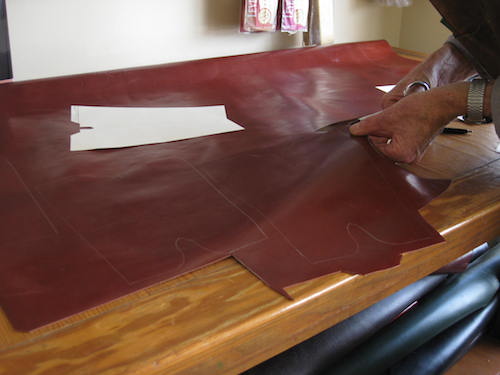
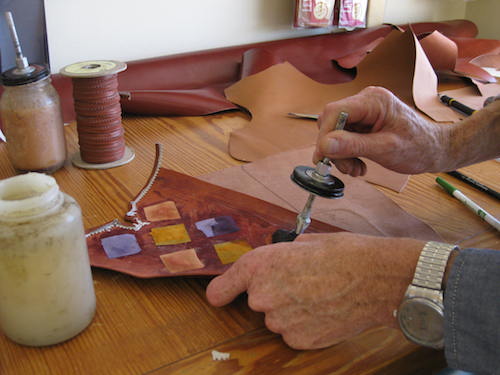
Step 2
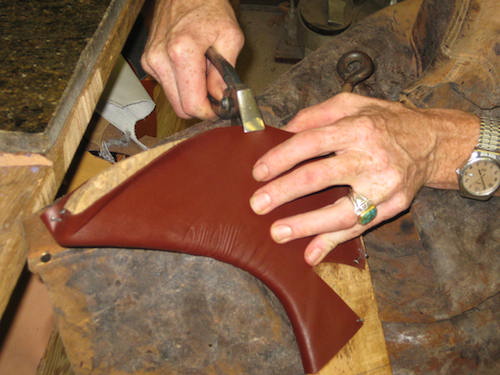
Next patterns are made and leather panels are cut out and carefully skived or tapered at the edges. Decorative beading is added as well as fillers and a heel slide to give the tops more structure. If your boot has inlaid or overlaid designs, this is where the maker painstakingly cuts, skives, glues and sews them in place.
Step 3
Vamps, or lowers are then wetted and crimped over crimp boards to help take much of the stretch out of the leather. They are tacked down and set to dry. Most factory boots eliminate this step but it will help to avoid the wearer from prematurely walking the boots out of shape.
Attention to detail…
Step 4
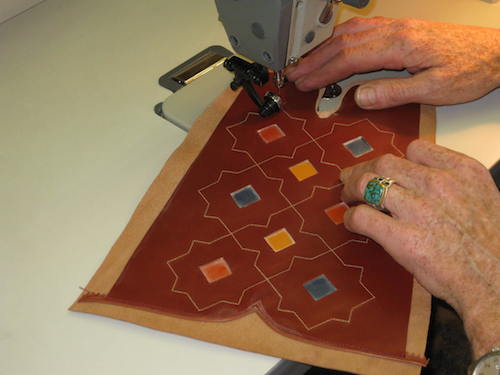
Decorative top stitching is all sewn by a hand operated sewing machine. The maker must follow a design that has been established by chalking over a perforated paper pattern. Many designs require sewing row after row of stitches that are placed right next to each other. No computer controlled machines here, this takes real focus and patience.
Step 5
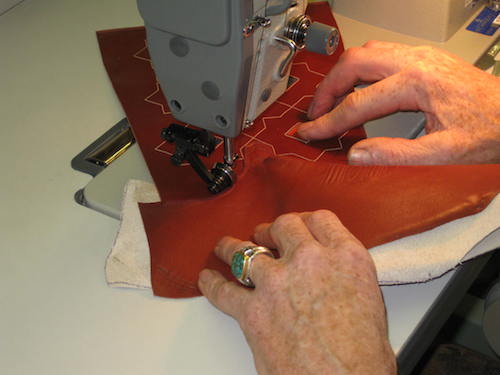
Vamps and liners are now cut and sewn to the front and the hard counter and counter cover are sewn to the rear in preparation for side seaming. The side beading is added to the edge and the seams are closed using a heavy duty tack and harness stitcher. The seam is sewn with the boot inside out and next the seams are trimmed and flattened. We then turn the boots right side out and allow them to dry overnight on boot boards.
Step 6
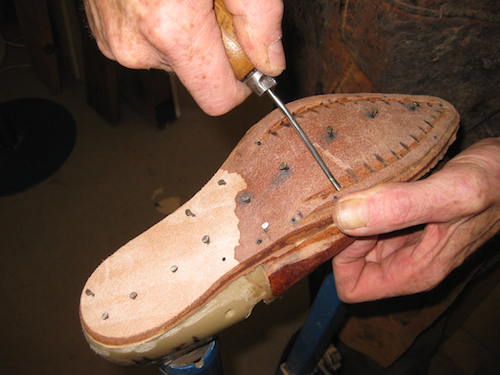
Next we must make the insole which is the foundation of the whole boot. Good quality insole leather is wetted and shaped over the last and allowed to thoroughly dry. It’s then trimmed and shaped to the contour of the last. A channel is cut and holes are pre-punched for the later addition of the welt.
Giving it some sole…
Step 7
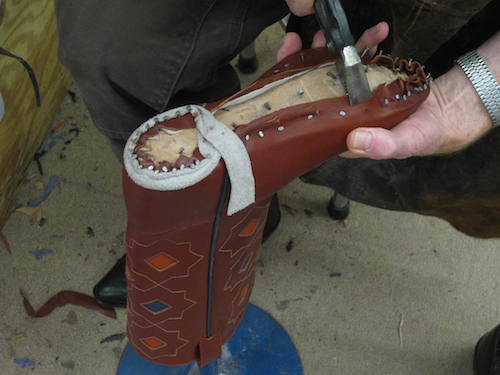
Now we get to last the boot. The entire boot is soaked in warm water sometimes with the addition of dish soap to allow the leather to become pliable for stretching. The leather is then tightly stretched over the last, tacked down and allowed to dry and set to shape. It may take a few attempts to get it right and this is where boot makers really learn to eye-ball the process.
Step 8
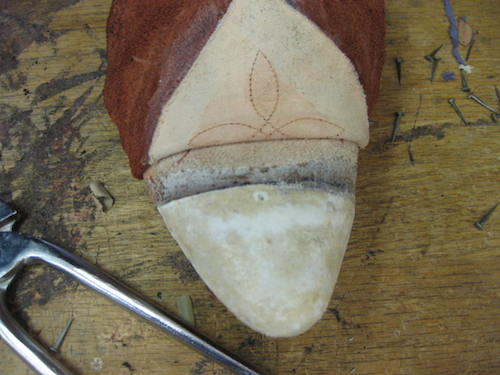
Next, we add the hardened toe box which gives structure and strength to the toe of the boot.
Step 9
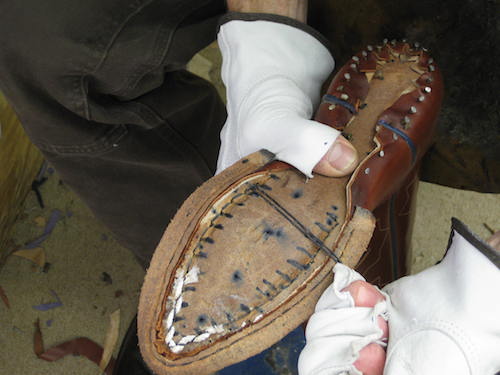
After the toe box has dried we add the welt, or inseam the boots. This narrow strip of leather is what holds the top or vamp to the insole which is later sewn to the outsole. Machines can perform this process in a matter of seconds, but boot makers will spend about a half day on just this step.
Step 10
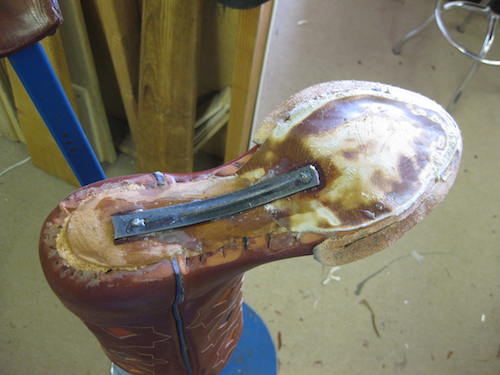
Now we add the hard shank to give the wearer plenty of arch support. This is followed by a filler and a shank cover. Plenty of glue is applied followed by laying in the sole which is then trimmed and shaped.
Building them to last…
Step 11
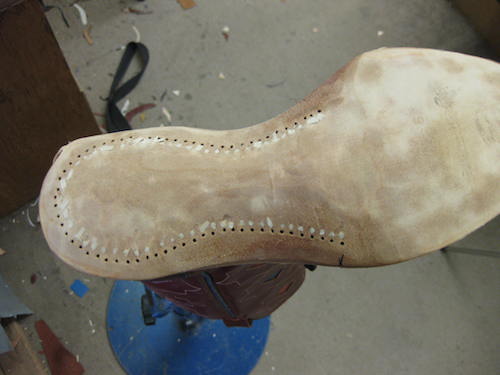
Traditional western boots are fully pegged. The wood pegs follow the arch and heel and will expand when wet, giving this boot more structural integrity. You won’t find a single nail in the construction of these boots.
Step 12
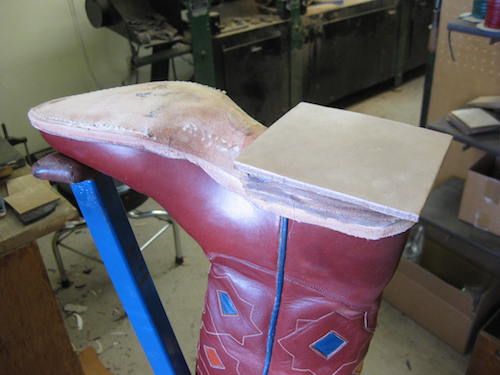
Next it’s time to build the heel. Heels are stacked one layer at a time. They are pegged in place, trimmed and shaped with a sander.
Step 13
The heel and edges are then dyed and burnished to help keep out moisture. Decorative bottom work is done to add a little flair to the custom boot. Some makers will actually hand tool designs on the sole.
And the finishing touches!
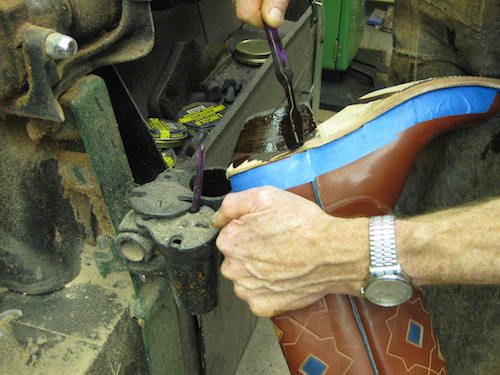
Step 15
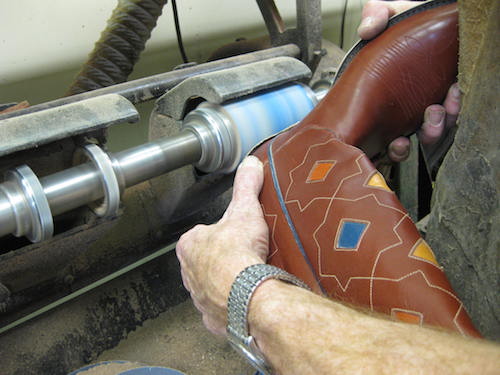
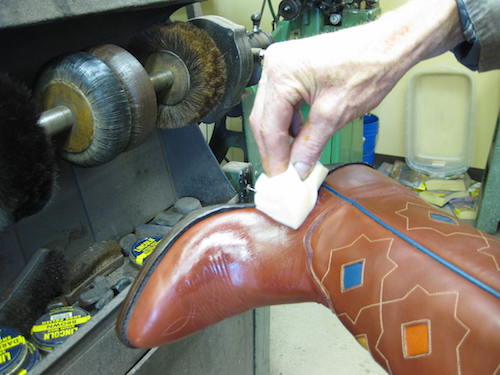
Finally, heel pads are cut and the boots are cleaned and detailed. After all of this work on the leather including multiple wetting stages, it’s time to restore the luster and finish of the original leather with a good conditioner followed by a final polish.

